In this short tutorial, I’ll show you two ways to create a new branch in your Bitbucket repository.
Create New Branch Using Bitbucket Website
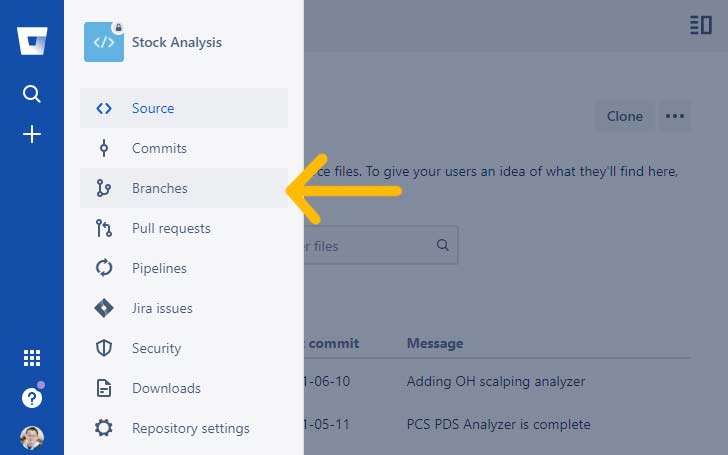
First, go to your Bitbucket repository.
Then click on Branches on the left menu.
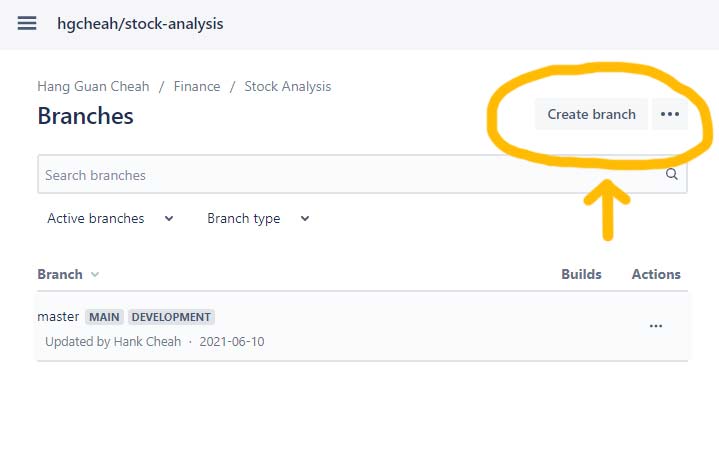
In the page that comes up, click on the Create branch button in the top right corner.
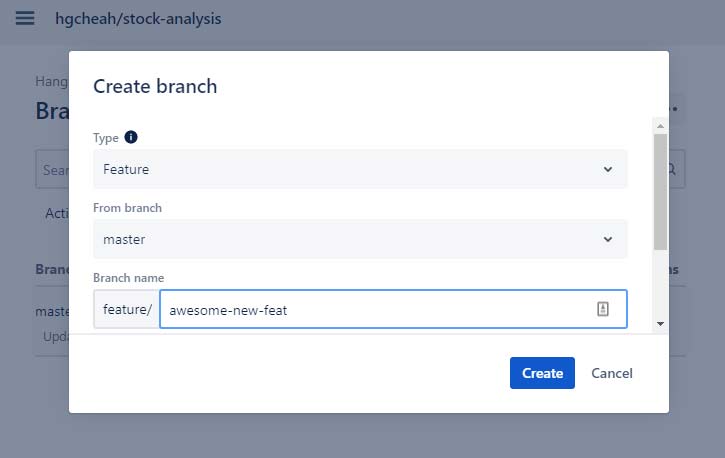
 Clicking the Create branch button will bring up the following popup dialog. Just fill up some details about the new branch you’re creating and hit Create.
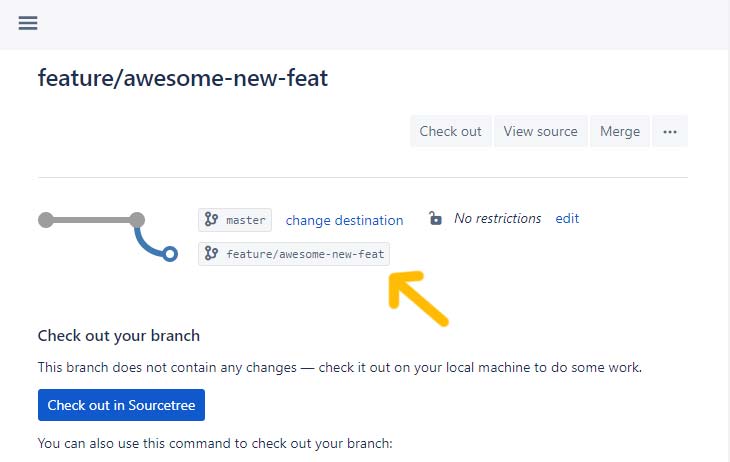
And your new branch has been created!
Create New Branch in Bitbucket Repository from Command Line
The second way to create a new branch is by pushing your local branch to the remote repository using this command:-
git push origin <local branch>:<remote branch>For example,
git push origin master:fix/cache-not-workingThe git command above creates a new branch fix/cache-not-working in the Bitbucket origin based on the local master branch.
The downside of this approach is that if the remote branch already exists, git will push the local changes (if there’s any) to that remote branch.
In some cases, this may not be the intended behavior.
To see if a remote branch already exists, first run
git fetchThe above command downloads the latest origin metadata. For our purpose, it keeps the local repo informed of the latest remote branches.
Next,
git branch -rThis commands returns the list of remote branches the local repository is currently aware of.
If the origin has a huge list of branches, it might be helpful to use grep to help you filter out noises.
$ git branch -r | grep ydata-extract
  origin/feature/ydata-extract
  origin/feature/ydata-extract2
In the preceding example, I’m interested in using “ydata-extract” as my branch name. But unfortunately, that name is already taken up.